The most useful coin photograph is not the one that makes a worn coin look heroic. It is the one that lets another person see the same thing you saw.
That sounds modest. It is also harder than pointing a phone downward and tapping the screen.
A dependable setup needs three jobs covered: the phone must be stable, the light must describe the surface, and the coin must sit square enough that shape and lettering are not distorted. NGC's photography guidance puts the same three needs in plainer equipment language: lighting, camera support, and camera/lens. It also makes a useful admission—most phones can make a recognizable coin image, while macro equipment becomes valuable when you need more detail.
Start with what is already in the house.
The free setup
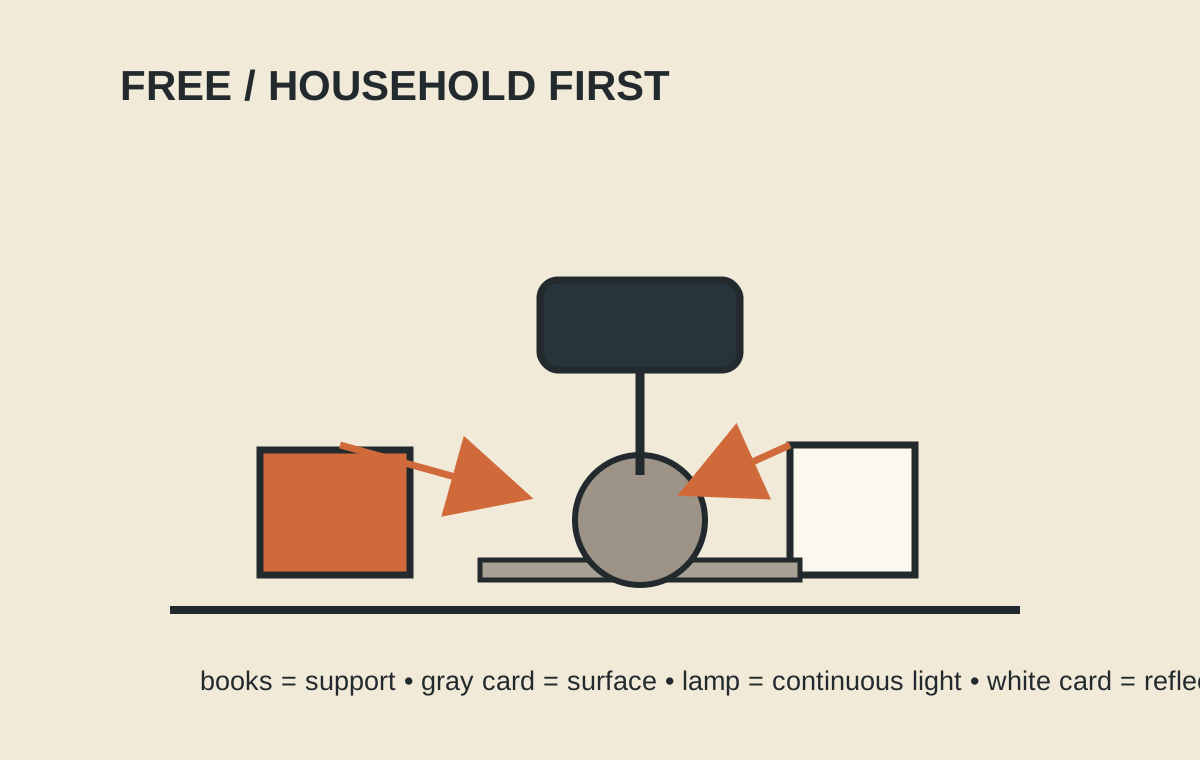
You need a clean table, a sheet of matte gray paper or card, a mug or two to act as weights, a stack of books, a piece of white paper or thin card, and a phone. A folded towel can keep the table from transmitting small bumps. A ruler or a square edge helps you judge alignment. None of this is elegant. It is stable, and stability is the luxury item.
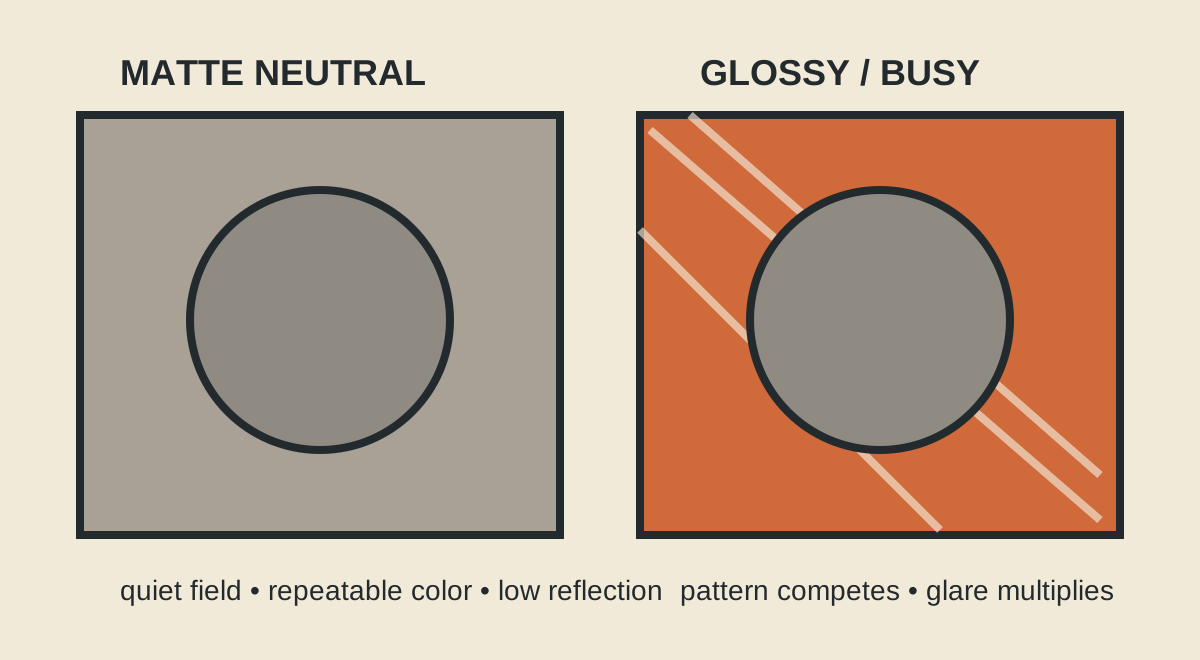
Use the gray card as the working surface. A neutral matte gray is a strong default because it is quiet, non-reflective, and less likely than a bright white surface to push the phone's exposure toward the wrong compromise. It also makes a useful visual reference when you compare one session with another. The surface does not need to be an expensive “coin photography” product. It needs to be clean, flat, and free of a distracting pattern.
Make a small phone bridge from books: two stacks at the same height with a gap between them, or a firm box with a hole cut into its top. The camera lens looks through the opening. Check that the phone cannot slide. If the phone is above the coin but tilted, you have built a tiny funhouse mirror.
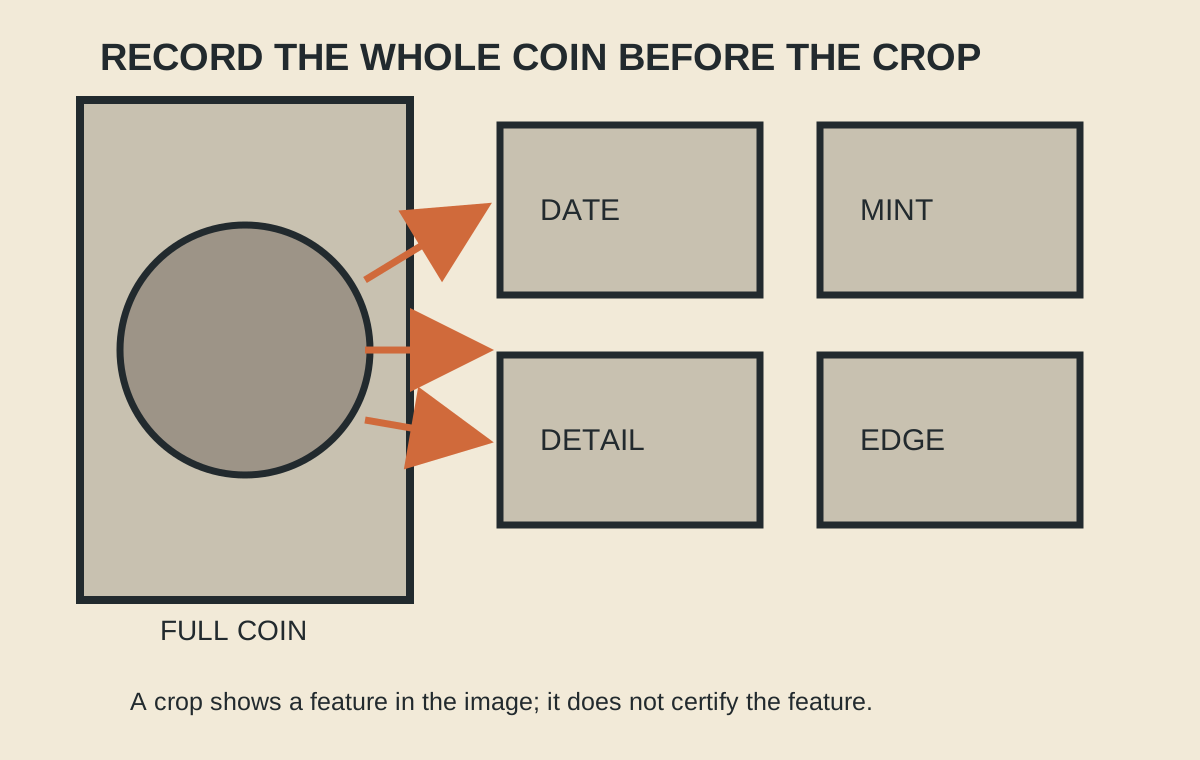
Place the coin in the center of the gray card. For a raw coin, handle it by the edge. For a slab, wipe the outside of the holder with a clean, soft cloth if needed; do not “improve” the coin inside it. Rotate the coin until the date and lettering sit in a natural reading position, then leave a little margin around the rim. The first photograph should include the whole coin. Detail crops come later.
Tap the coin on the phone screen to focus. If the phone offers exposure and focus lock, use them. Keep the exposure consistent across obverse and reverse, but do not force identical brightness if the surfaces genuinely reflect light differently. Turn off the ceiling lights and nearby lamps when they introduce mixed color or bright reflections. A phone is very good at accepting the most convenient light and calling it truth.
Use the timer. A two- or three-second delay is enough to let your hand leave the setup. If the phone supports a remote shutter or browser-based remote capture, that can be convenient, but a timer is the reliable substitute. Remote control reduces shake; it does not correct a crooked phone or a bad reflection.
Square first, close second
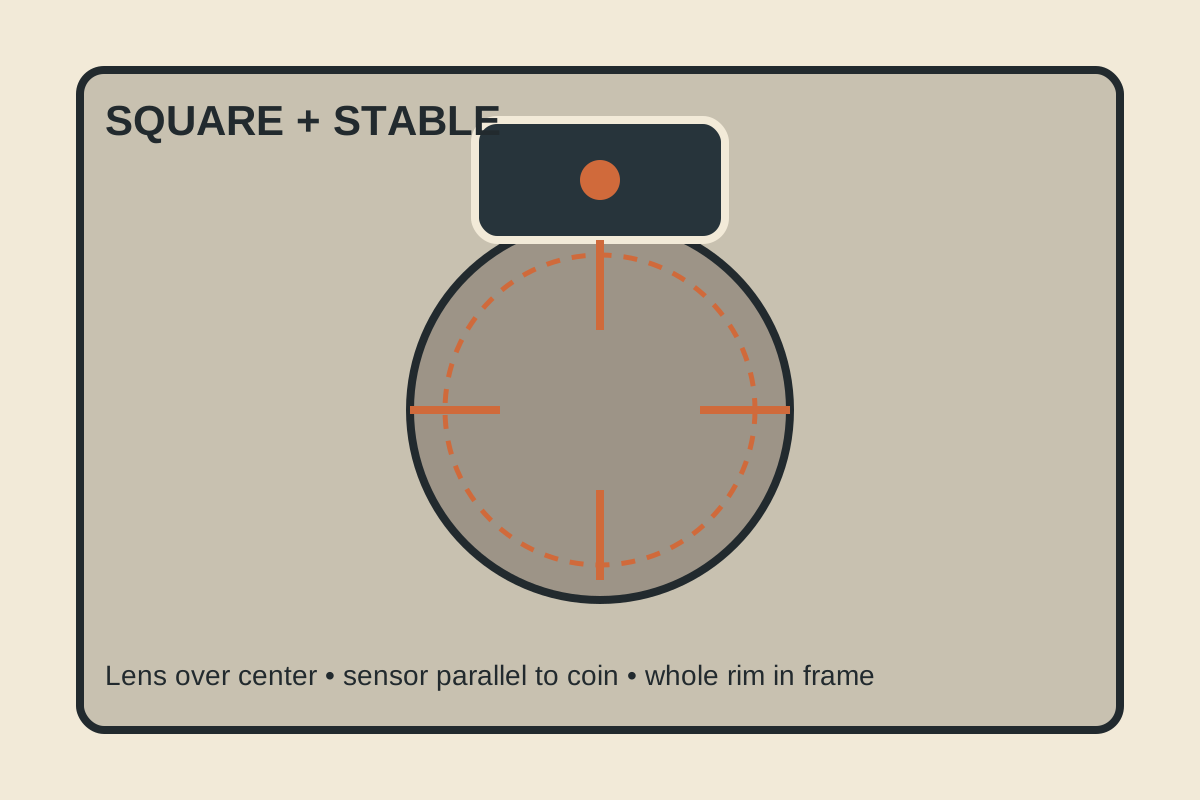
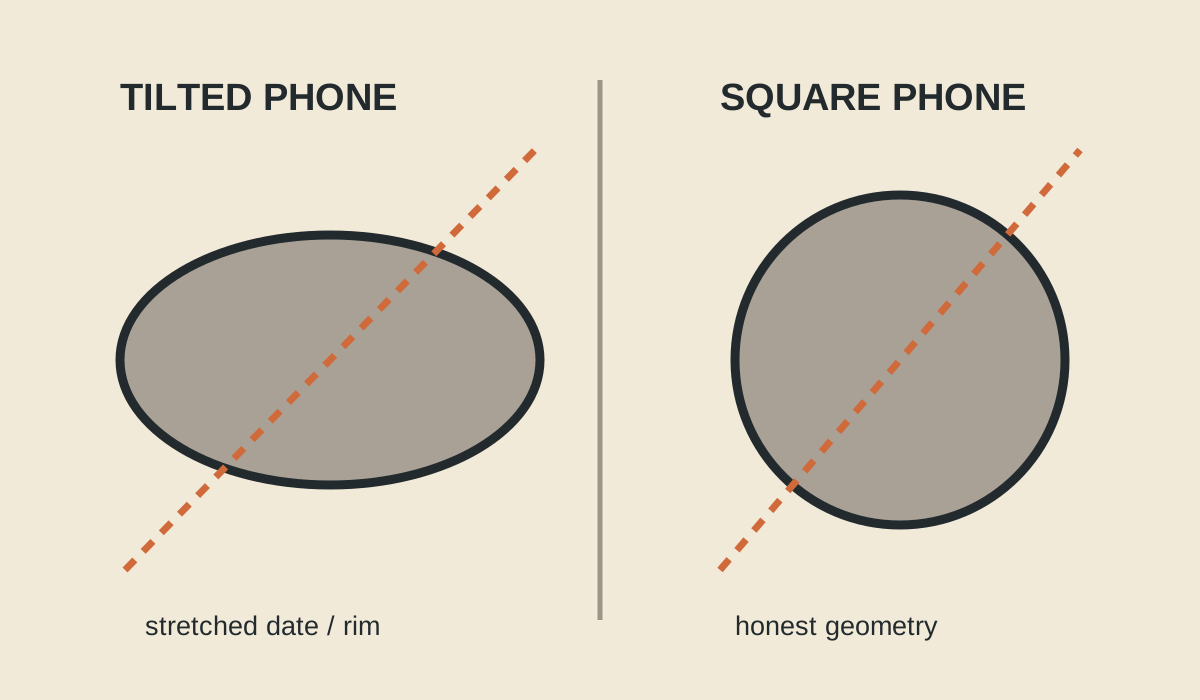
The phone's sensor should be parallel to the coin. In a top-down view, the lens should sit over the center of the coin, not somewhere above its shoulder. The coin should look circular, not egg-shaped. If the rim is wider on one side, stop and fix the geometry before buying a lens.
Perspective error makes a coin look more diagnostic than it is. A tilted phone can stretch a date, hide part of a rim, and change the apparent shape of a mark. The distortion may look dramatic because the coin is round and familiar; the cure is boringly physical. Raise one side of the support, move the phone, or use a small bubble level. Do not “correct” the shape in an editor and then forget that you corrected it.
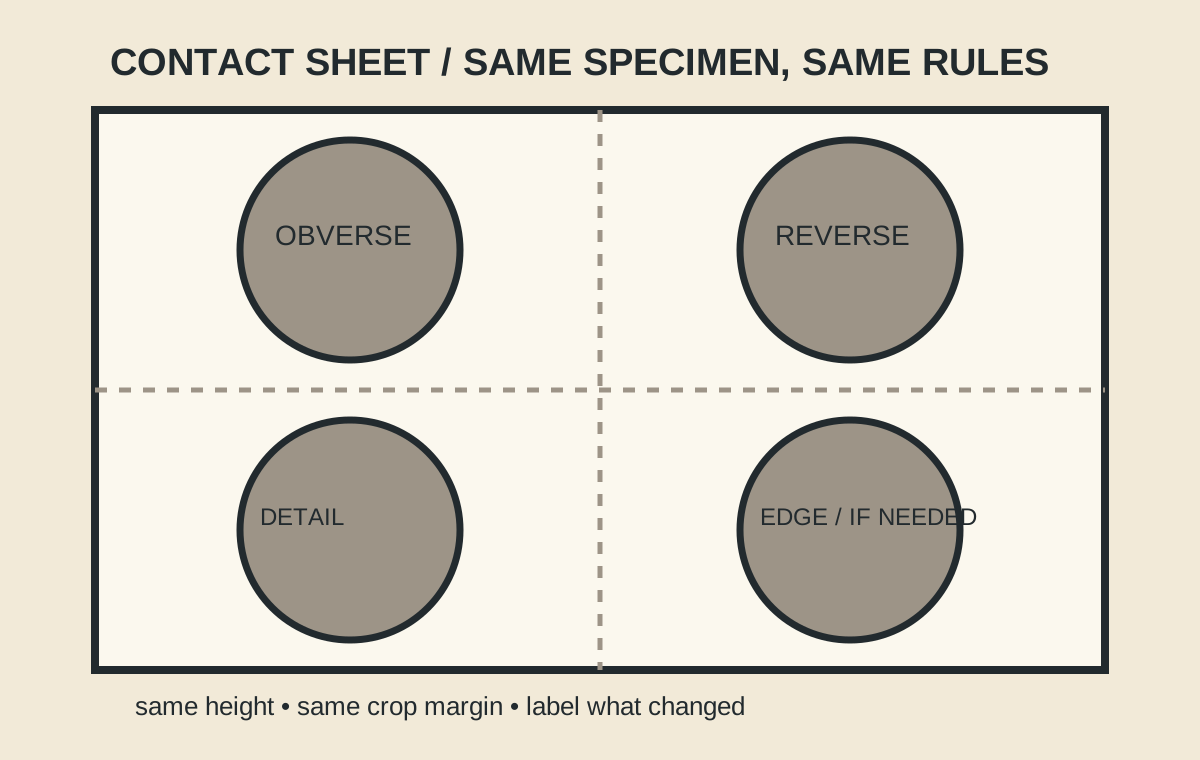
Make one repeatable obverse/reverse pair. Keep the camera height, surface, framing, and light positions the same. Mark the corners of the setup with removable tape if you expect to photograph a group. A matching pair makes it easier to compare surfaces and easier for someone else to know that the two images belong to the same specimen.
Light is a description, not decoration
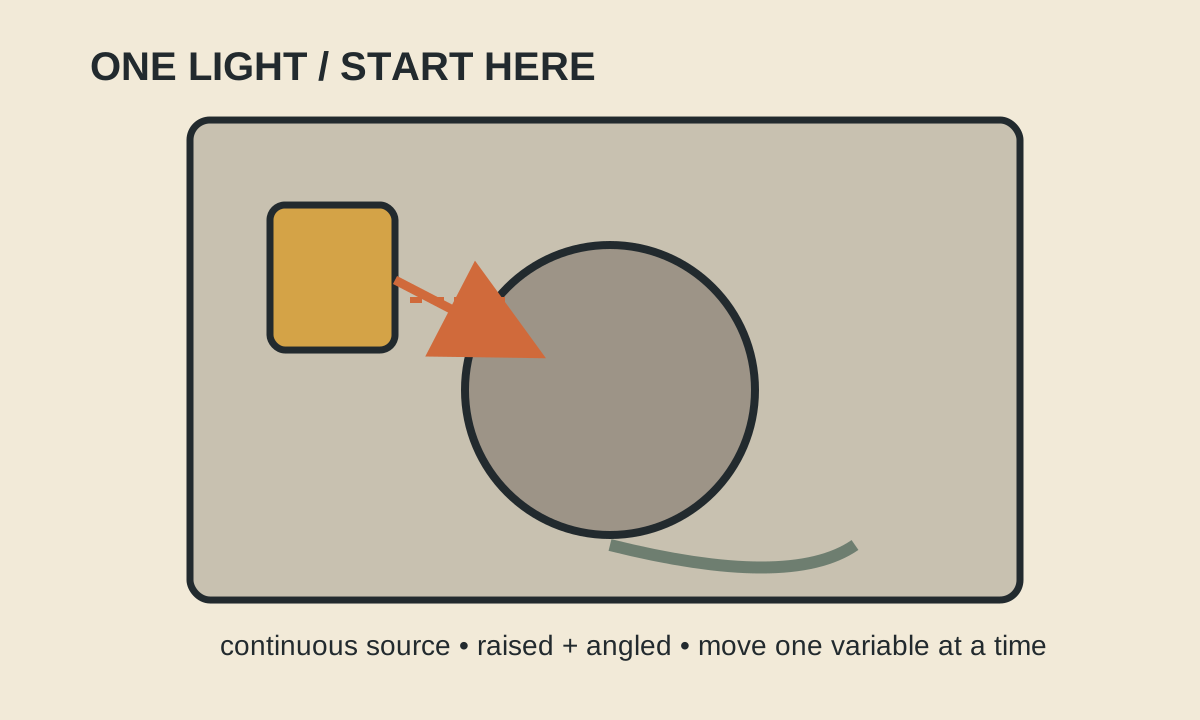
Continuous light is friendly to beginners because you can see the reflection before you take the picture. Start with one lamp or LED panel to the left or right, raised a little above the coin and aimed across its surface rather than straight down. Move the light farther away to make its angle less aggressive; move it closer or lower to bring out texture. Every coin will negotiate differently.
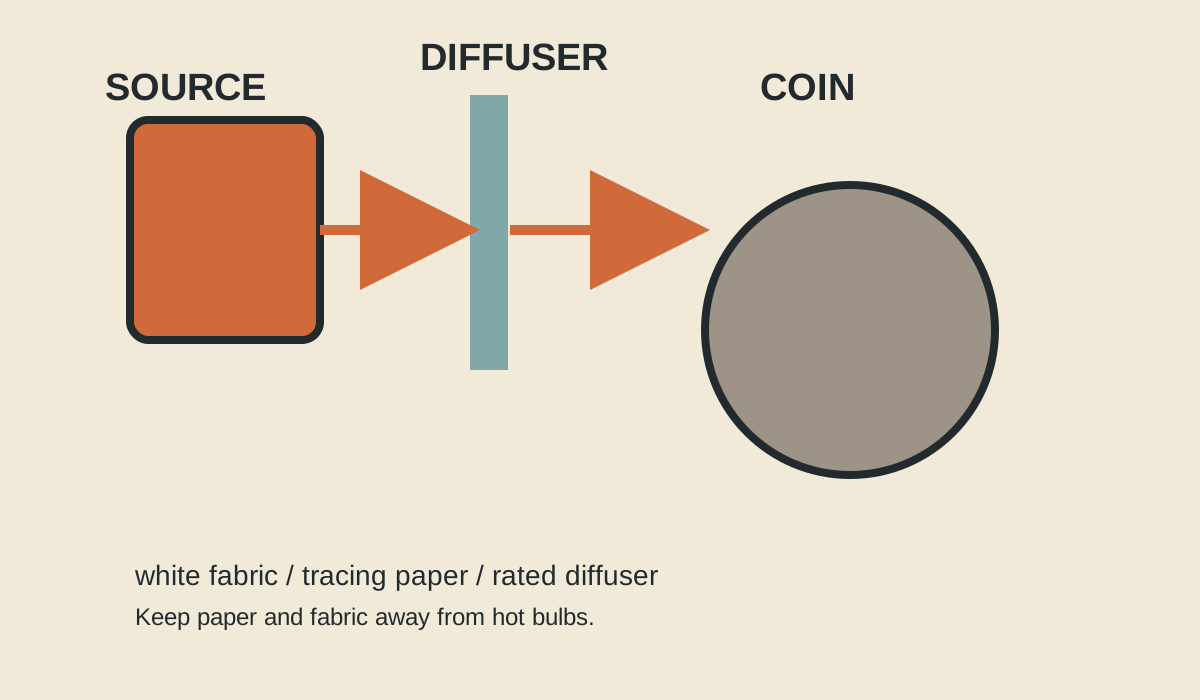
Diffusion is a thin, safe-to-handle layer between the source and the coin: white fabric, tracing paper, a translucent diffuser, or a small softbox rated for the light you are using. Keep paper and fabric away from hot bulbs. Diffusion enlarges and softens the source, which often makes glare less abrupt. It also costs some light, so lengthen the exposure or raise the phone slightly rather than turning on every lamp in the room.
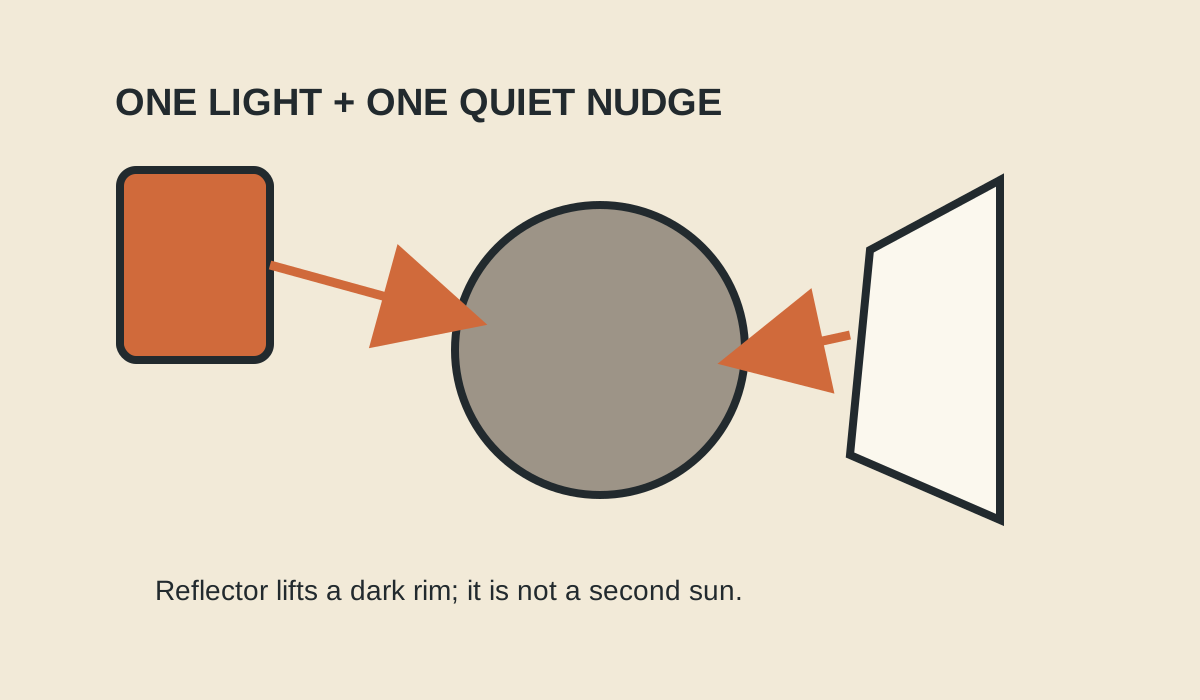
The white card is a reflector. Place it opposite the light to lift a dark rim or shadow. A reflector is not a second sun; it is a quiet nudge. PCGS's proof-coin examples show why this matters: a small reflector can define shape, while larger or poorly placed reflective surfaces can introduce color changes and unwanted objects into the image.
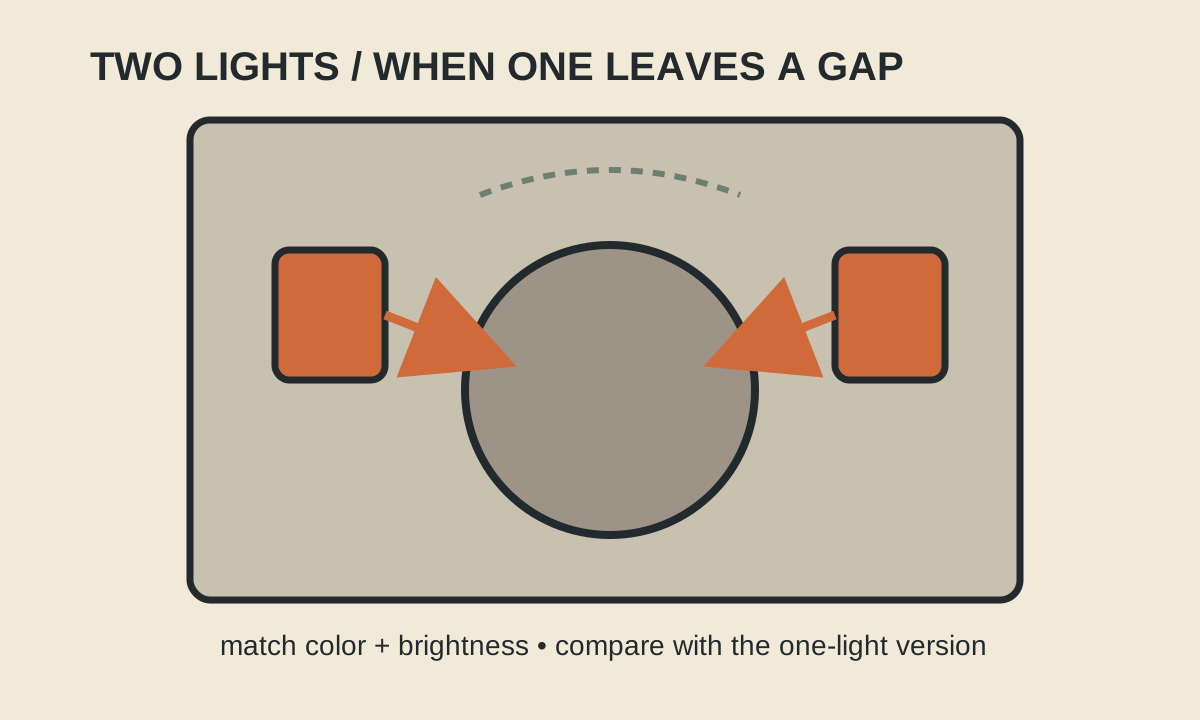
One light is often the best starting point. It gives you one variable to move and one reflection pattern to understand. Add a second light when the first setup leaves one side of the coin too dark or when you need a controlled, symmetrical record of a slab. Keep the two sources similar in color and brightness, place them as mirror images at roughly equal angles, and compare the result with the one-light version. More light is not automatically more information.
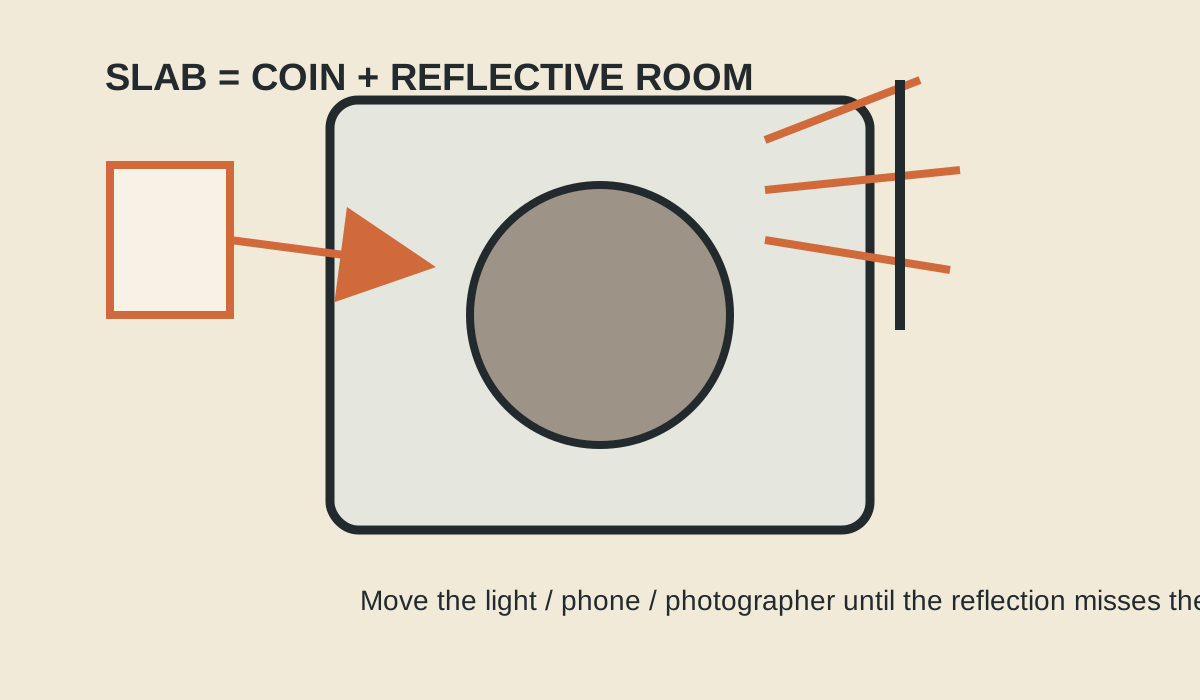
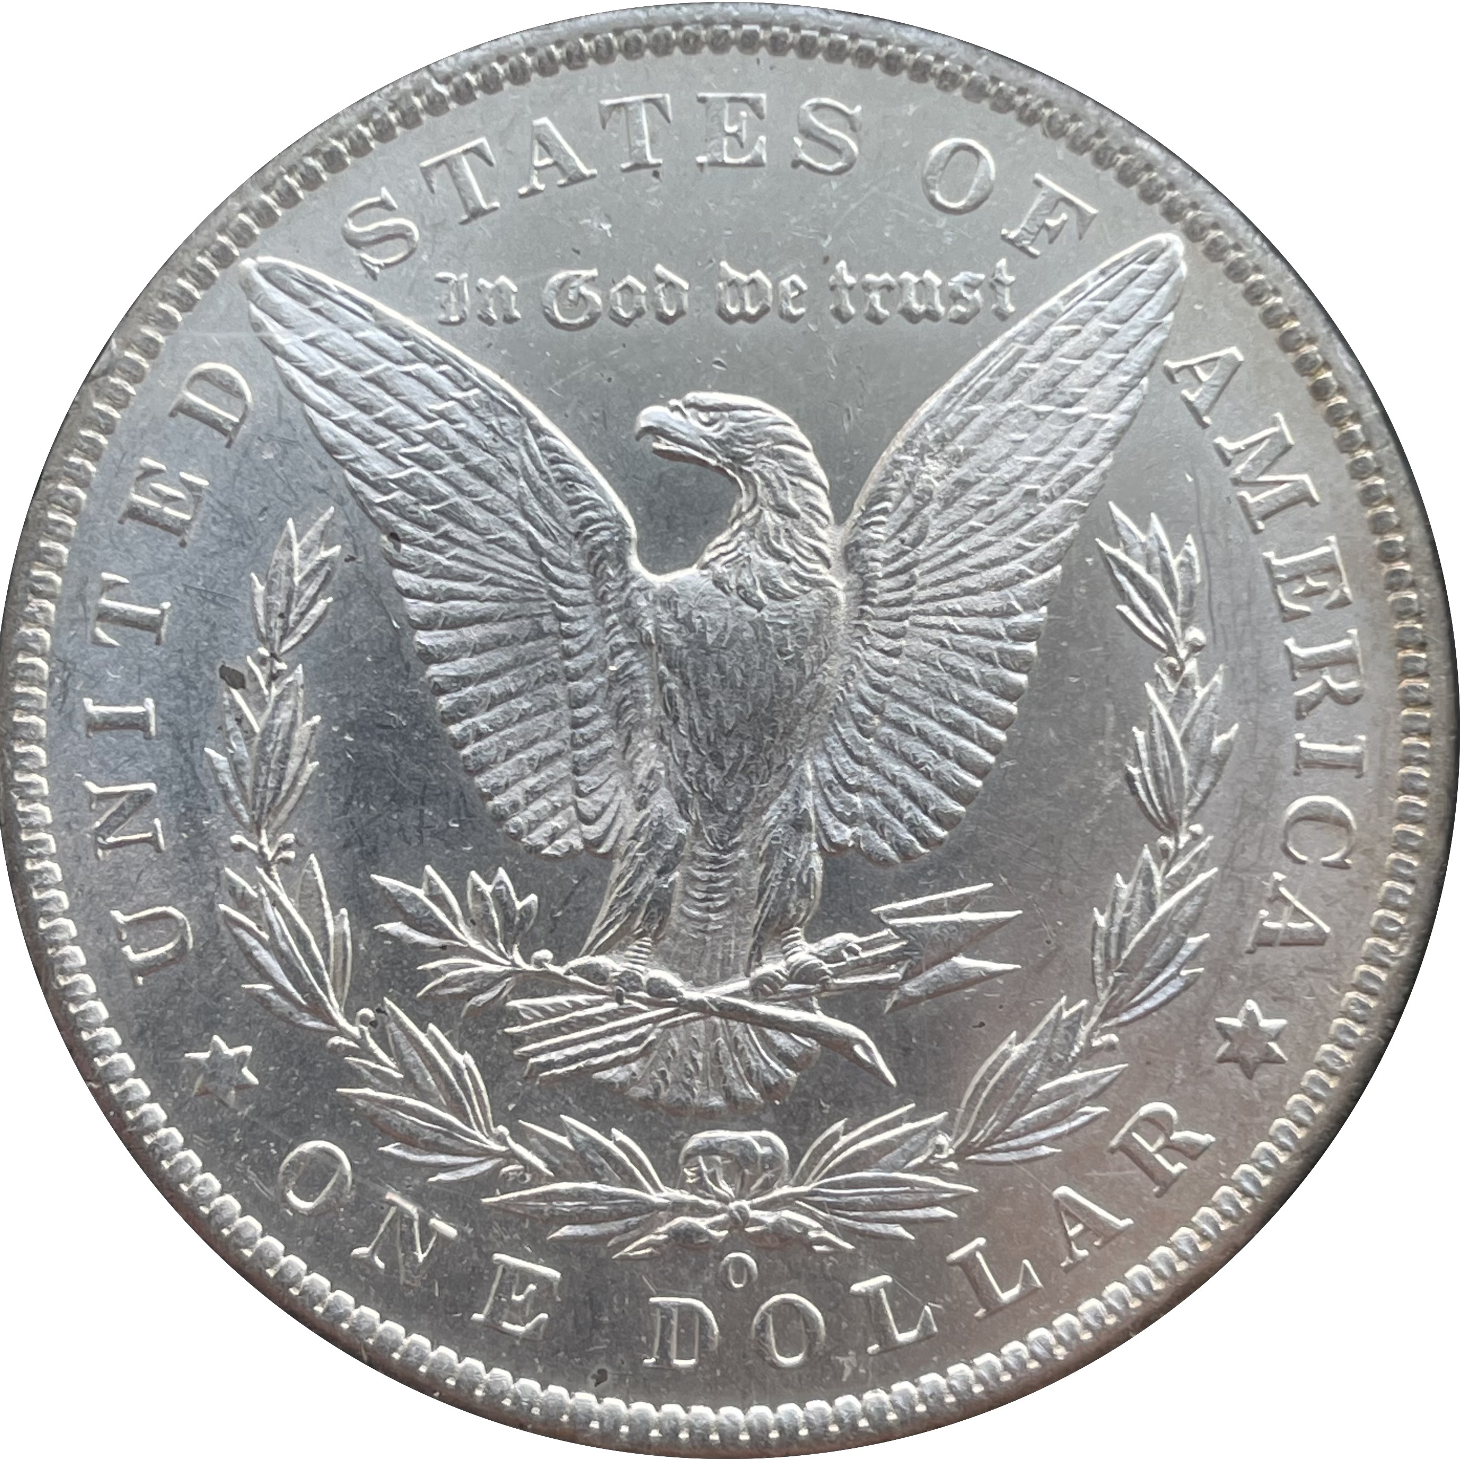
For slabs and proof surfaces, assume the room is part of the photograph. A slab is a clear reflective object around a coin. A proof coin has mirror-like fields and frosted design elements, so it is designed to show the light—and whatever else the light sees. Move yourself, the phone, and the light until the reflection falls outside the important area. A black shirt can become a dark stripe. A window can become a white rectangle. The coin has not changed; the room has entered the picture.
Toned coins can be especially sensitive to color. Avoid a mixed-light setup with a warm household lamp on one side and a cool window or LED on the other. Set the phone's white balance if the camera allows it, or use the same single light for the whole session. Do not increase saturation to rescue a dull screen. Record the color you saw, not the color that earns more clicks.
When the phone needs help
First test the phone's native camera. If it can focus on the full coin and preserve the date, mint mark, rim, and surface detail you need, stop there. Digital enlargement is not the same as new information, but a clean, well-lit full-coin image is often more useful than a soft macro image with a dramatic background.
Macro accessories become reasonable when the phone cannot focus close enough or when the subject detail is too small in the full frame. A clip-on macro lens may help, but it changes the working distance: the phone must sit closer to the coin, leaving less room for light and making the lens easier to bump. Some inexpensive lenses also introduce edge softness, flare, or alignment problems. Test the accessory on an ordinary coin before using it for a claim.
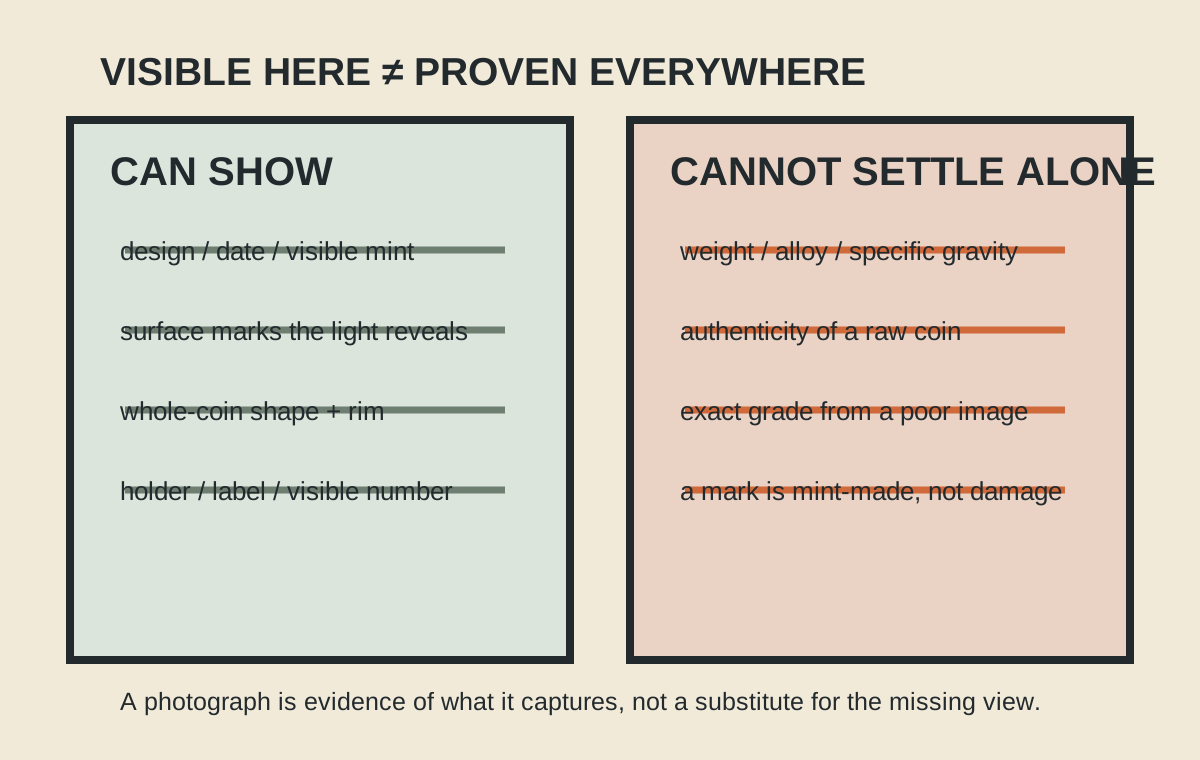
If a crop is meant to show a date or mint mark, capture the full coin first, then make the detail image with the same orientation and a note that it is a detail view. A detail crop is evidence of a detail in the photograph. It is not proof that the detail is genuine, correctly attributed, or valuable.
Three setups you can actually finish
Free / household
Matte gray card, phone on a book bridge, one shaded desk lamp or bright window used from one direction, white card reflector, timer, and a note with date, coin identity as known, and side photographed. Turn off competing lights. This setup costs nothing and teaches the geometry.
Low-cost improved
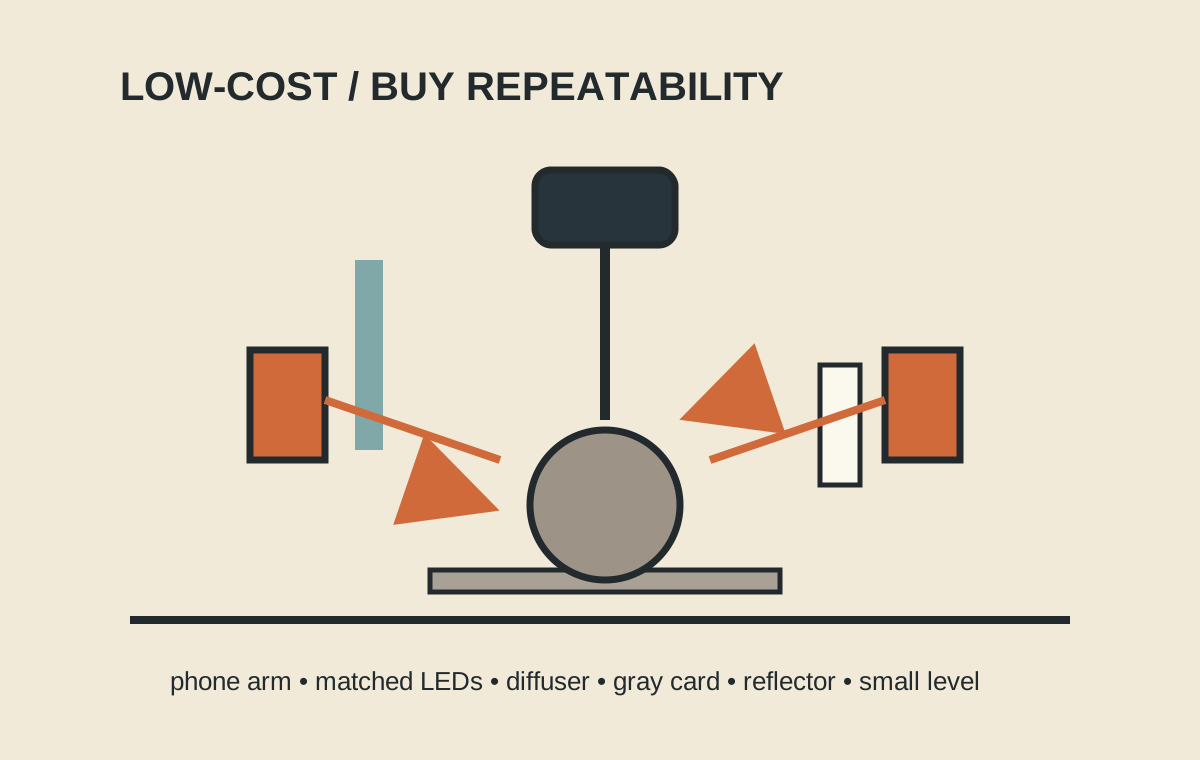
Small phone tripod or overhead arm, two identical dimmable continuous LEDs, diffusion, gray card, white reflector card, and a small level. Use one light first, then add the second only when it solves a visible problem. Put tape marks on the table for the phone and stands. This setup buys repeatability more than prestige.
Compact enthusiast
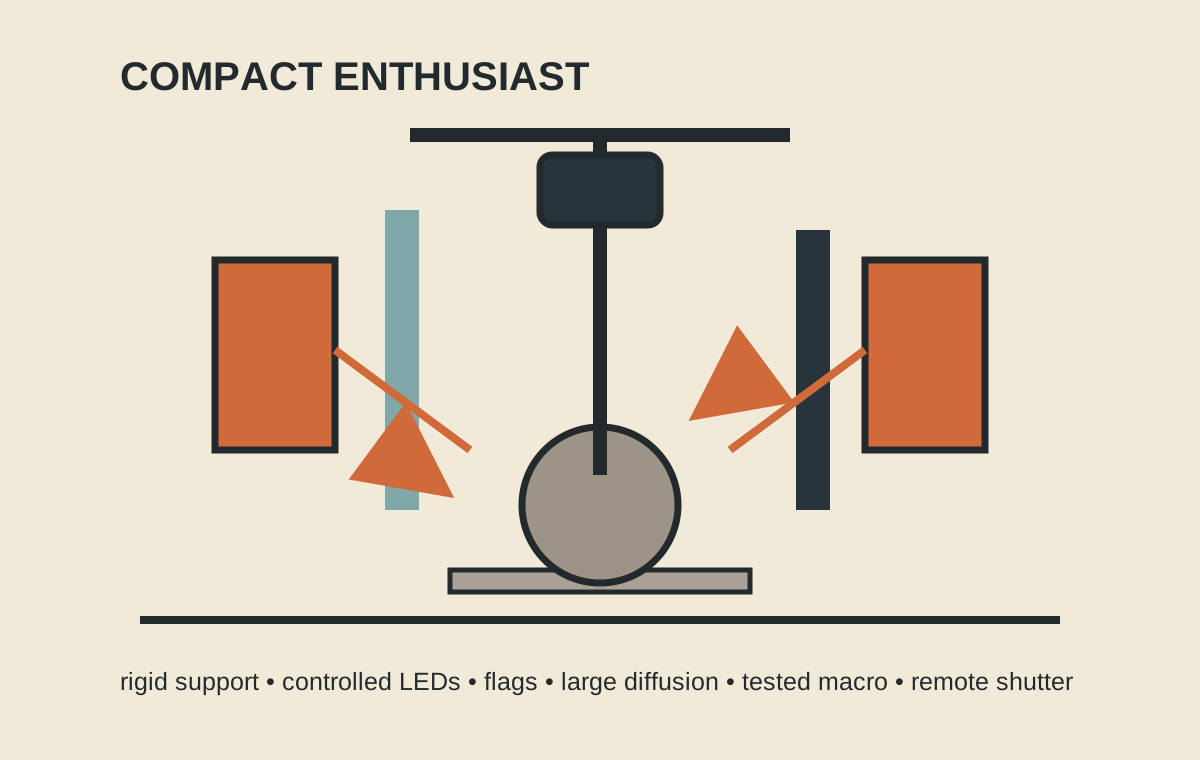
Rigid copy-stand-style support or overhead arm, controlled LED panels with matching color, larger diffusion, black flags for reflection control, a neutral gray surface, a remote shutter, and a macro solution tested for the phone. Add a scale or reference card only when it belongs to the record you are making. Keep an unedited original and a clearly labeled presentation crop.
The purchase order is simple: support first, light second, diffusion and a neutral surface third, macro last. If the image is crooked, a sharper lens only produces a sharper crooked image.
A repeatable session, start to finish
Put the coin, phone support, and light in place before you open the camera app. Take one test frame with the whole coin visible. Look at the rim, the date, and the darkest and brightest areas. If the rim is stretched, fix the phone. If the date is lost in glare, move the light. If the surface color is drifting, remove the competing light. These decisions are faster before you photograph a dozen coins the wrong way.
Once the geometry works, make a reference frame. It can be a plain full-coin image with a small handwritten card outside the crop showing the specimen number and side. The card is for organization, not for scale claims. Photograph the obverse, turn the coin without changing the phone or light, and photograph the reverse. If you cannot keep the coin centered after turning it, mark a soft outer guide on the gray card or use a low, non-marring positioning aid outside the important surface.
Then make detail views only where a reader has a reason to look: date, mint mark, a possible die feature, an unusual rim, or the edge. Keep the full image next to each crop. Do not let a dramatic detail replace the boring establishing shot. The establishing shot is how a second person knows the crop belongs to this coin.
At the end of the session, save the untouched originals before making presentation crops. If you adjust exposure or white balance for a web page, keep that version separate and label the adjustment. A presentation crop can be cleaner than the original while remaining honest; it becomes misleading when the clean version is the only version left.
Seven ways to ruin a coin photo without touching the coin
- Tilt the phone and call perspective a diagnostic.
- Let a ceiling light, window, and desk lamp fight over the color.
- Photograph through a slab with a bright rectangle reflected across the coin.
- Push saturation until toning becomes a sales pitch.
- Use a patterned or glossy background that competes with the rim.
- Crop away the rim, date, or mint mark before anyone else can inspect it.
- Retouch marks, glare, spots, or luster without labeling the change.
The minimum record
For every specimen, save the original file and a simple note. Photograph:
Obverse / Reverse / Date / Mint / Detail / Edge when relevant
Add the capture date, device, lighting setup, and any reason the second image differs from the first. If the coin is slabbed, record the service and visible certification number separately from your own observations. If it is raw, do not give it a grade just because the phone found a pleasing angle.
The goal is not a glamorous coin. The goal is a photograph another person can trust.
Source note: The technique in this piece is an editorial synthesis of NGC and PCGS photography guidance, with proof-finish terminology checked against the U.S. Mint. The diagrams are original illustrations, not documentary photographs or product endorsements.